This post contains affiliate links. If you click on a link and make a purchase, I may earn a small commission at no extra cost to you. Thank you for your support!
My No-Build Jeep: Dependable and Fun
Just because I upgraded to a truck doesn’t mean you need a new vehicle to camp in comfort. For years, I made do with my trusty 2015 Jeep Cherokee, and with a few simple tweaks, you can turn almost any car into the perfect camping rig to live out your road-tripping dreams!
Beatrix and I have shared some amazing camping experiences in the Jeep. If it was up to me, I’d have kept the Jeep forever and just made it magically capable of holding more stuff. I loved the ease of folding the seats down and settling in with my dog curled up next to me as I lazed around at Texas State campgrounds, reading books and snacking the day away, just enjoying doing nothing.
This Jeep also took me over 5,000 miles the summer of 2024, across 6 states, through four national parks, and over endless miles of stunning scenery. It was reliable and comfortable, and I depended on it to keep me safe and happy. Almost any vehicle can be your perfect road trip rig if you keep an open mind.
Here’s a step by step guide to how I use my Jeep for camping.
Step 1: Create a Sleeping Space
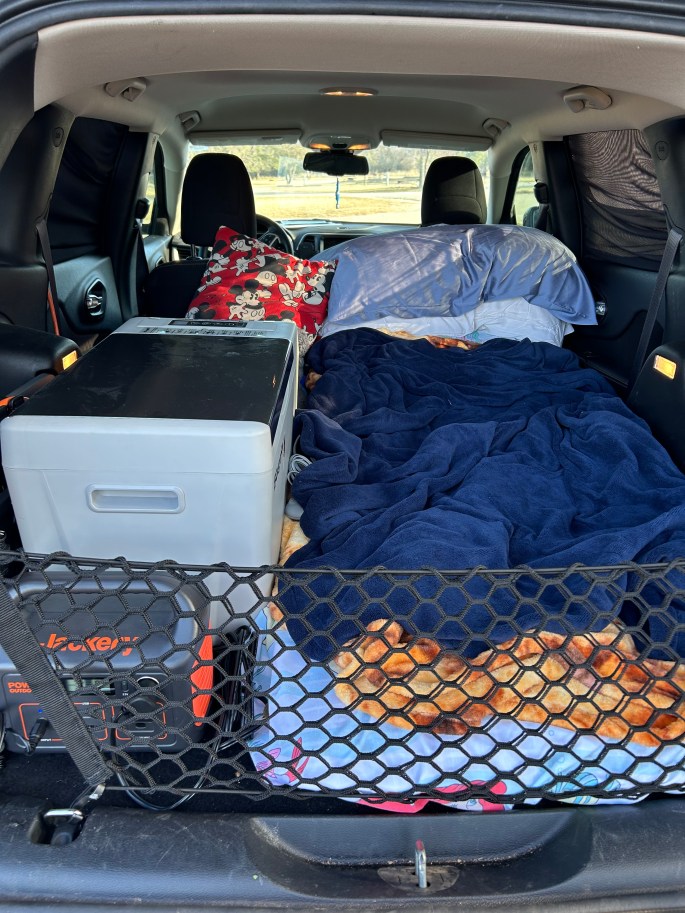
By putting the seats down in the back I was able to create a sleeping space in my Jeep that was big enough for Beatrix and me. You’ll find a ton of info out there about building out sleeping platforms and things like that, and while I’ve done that for my truck to get some extra storage space beneath the bed, that’s not absolutely necessary for camping. Folding down your seats the old school way works just fine.
If your back seats don’t fold completely flat, you might need to fill the gaps for better support. I used plastic totes to create a level surface—and as a bonus, they double as storage!
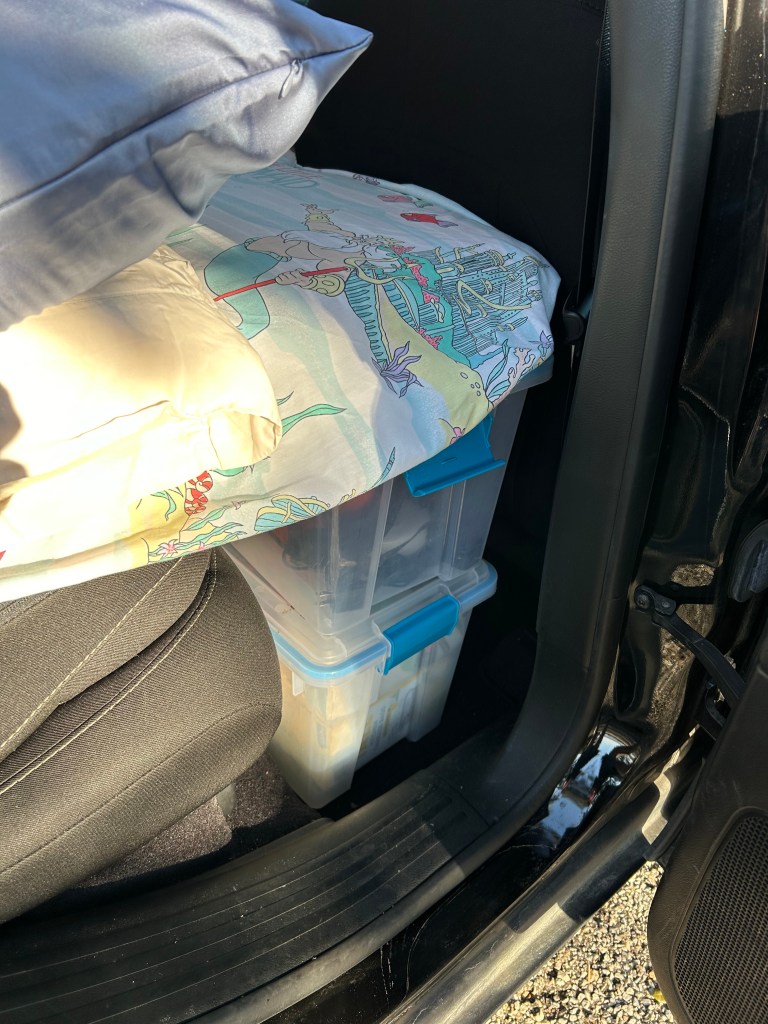
These plastic totes fill the space between the seats so my sleeping pad is supported all the way across. I store my electronics in the top tote. Why yes, that is a vintage Little Mermaid bed sheet pilfered from my family linen closet!
Check out my comfort camping post to find out more about how I chose my mattress pad.
Step 2: You’ve Got to Have More Power!
Power is essential to comfort camping. For trips at a powered state park site, I can rely 100% on this little Jackery battery. I plug an extension cord into the park’s shore power, and into the Jackery to power it, then I power everything else off of the Jackery. As you can see in the photo below, I have the extension cord plugged in to power the battery. The little fridge is charging off of the battery in the 12v spot. When I drive, I power the battery from the car, using the 12v connection in my trunk.
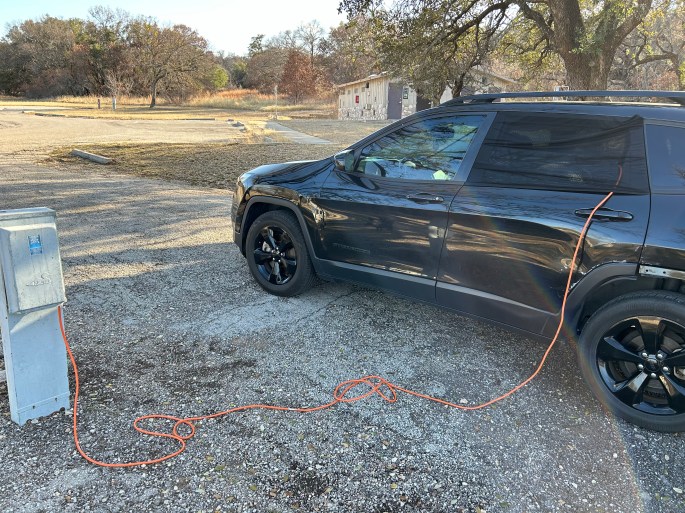
I just run the extension cord through my back window, which I leave open for airflow anyway, protected by a window screen (more info below).

Here, the Jackery is being powered by shore power through the extension cord. While driving, I power it with the car through the 12v in the trunk, which you can see to the left. The fridge is plugged into the Jackery battery’s 12v spot.
Step 3: Figure Out Food Storage
Having a fridge really levels up your camping experience. It provides you with everything from cold drinks to leftovers you can simply transport and heat up over a small propane stove.
The number one reason I got a fridge was to transport Beatrix’s medicine, which has to be refrigerated. That’s why I’m so careful with making sure I have enough power all of the time, and why I usually choose powered campsites.
I’ve used this BougeRV fridge since last summer when we took our big cross-country road trip, and I love the little guy. It’s affordable and does a great job, and holds everything you need.
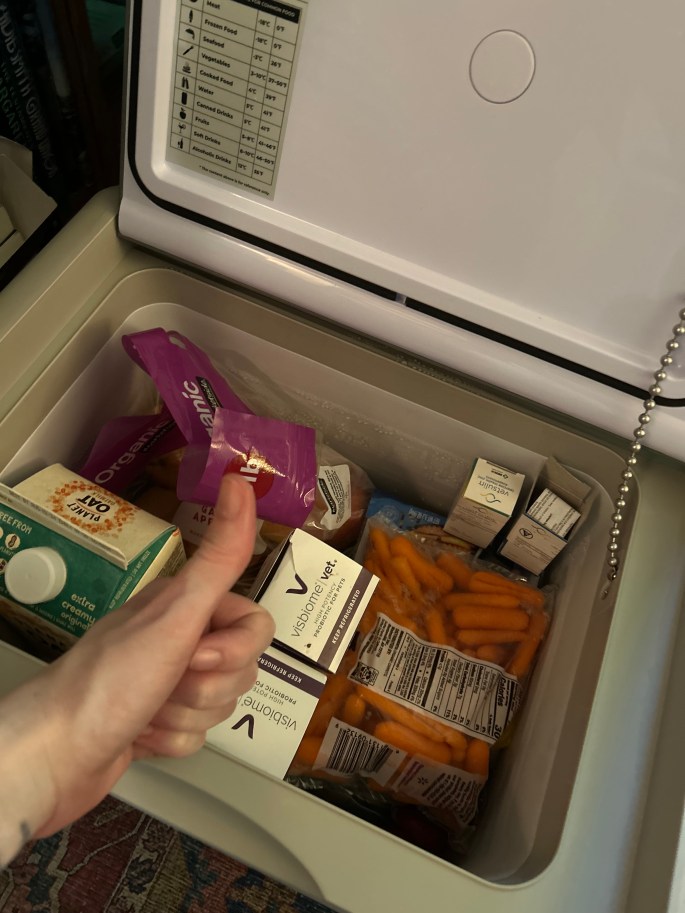
Getting my fridge packed up before my road trip last summer. As you can see, a whole oat milk and a giant bag of apples can fit in there, along with other snacks and my dog’s medication.
Step 4: Keep Safety and Privacy in Mind
You don’t anyone walking by to just be able to peer in at you, you know? I swear, one of the easiest ways to create a little privacy is by hanging a simple bed sheet. I have a navy top sheet that lives permanently with my camping supplies and comes on every car camping trip with me.
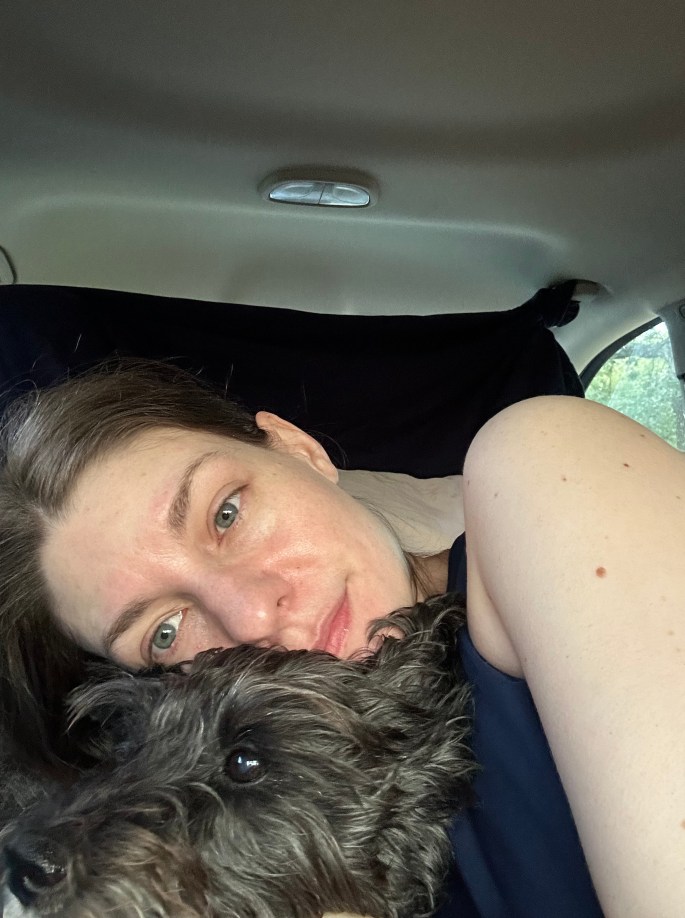
A simple bed sheet does the trick.
As you can see, I just tie a corner of it it to each of the little handles and pull it tight (What are those little handles called? As a kid we called them “oh sh*t bars” but somehow I doubt that’s the technical term).
As you can also see, it’s not totally perfect. You can still see partway in. If you want to stealth camp at a truck stop I recommend something a little more substantial than tying a sheet to the “oh sh*t bars.” But I feel perfectly comfortable camping at Texas State Parks like this. Plus, you want a little bit of moonlight to be able to come through or how else are you going to bask like a nature witch bathing in the moonlight?
Keeping your windows down a bit is essential for airflow when the weather is warm. In fact, cracking your windows a bit is also essential even when it’s cool, so you don’t wake up with condensation all over the place (did you know you breathe out a ton of water when you sleep?)
But you still want some privacy and you absolutely do NOT want any bug in the vicinity to just be able to fly on in, so window screens are the perfect solution.
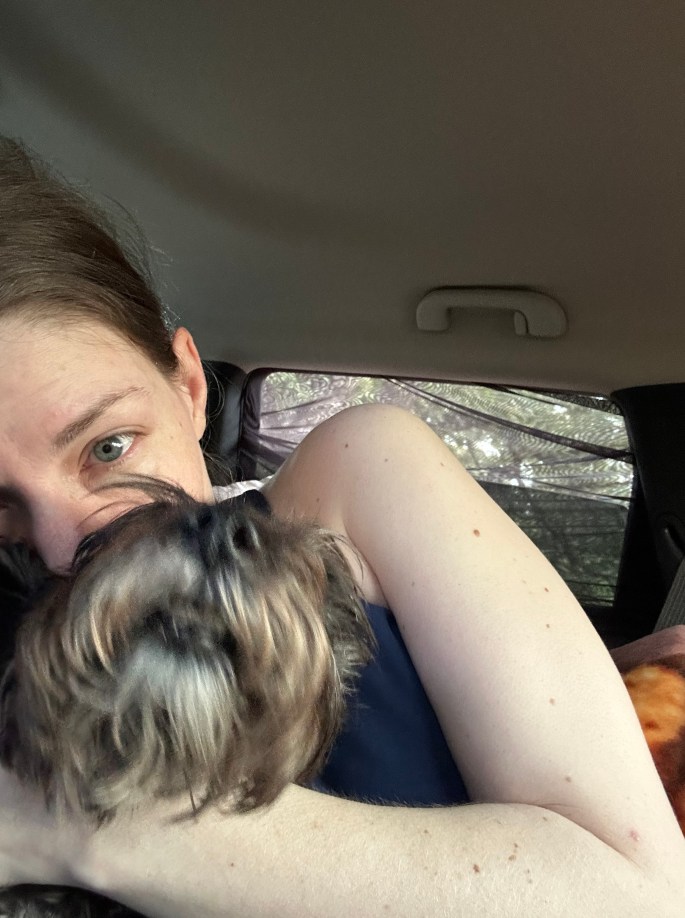
Gosh Beatrix, can you just not look like a hostage in my window screen pic? Kthanks.
I use window screens like this. They have a stretchy part at the bottom and you just pull them over the door frame.
Step 5: Temperature Control
Temperature control is essential to your comfort. I tend to avoid temperatures below the upper 30s and above, like, 70 degrees F. I find it a little easier to stay warm in cooler temps than to stay cool when it’s hot.
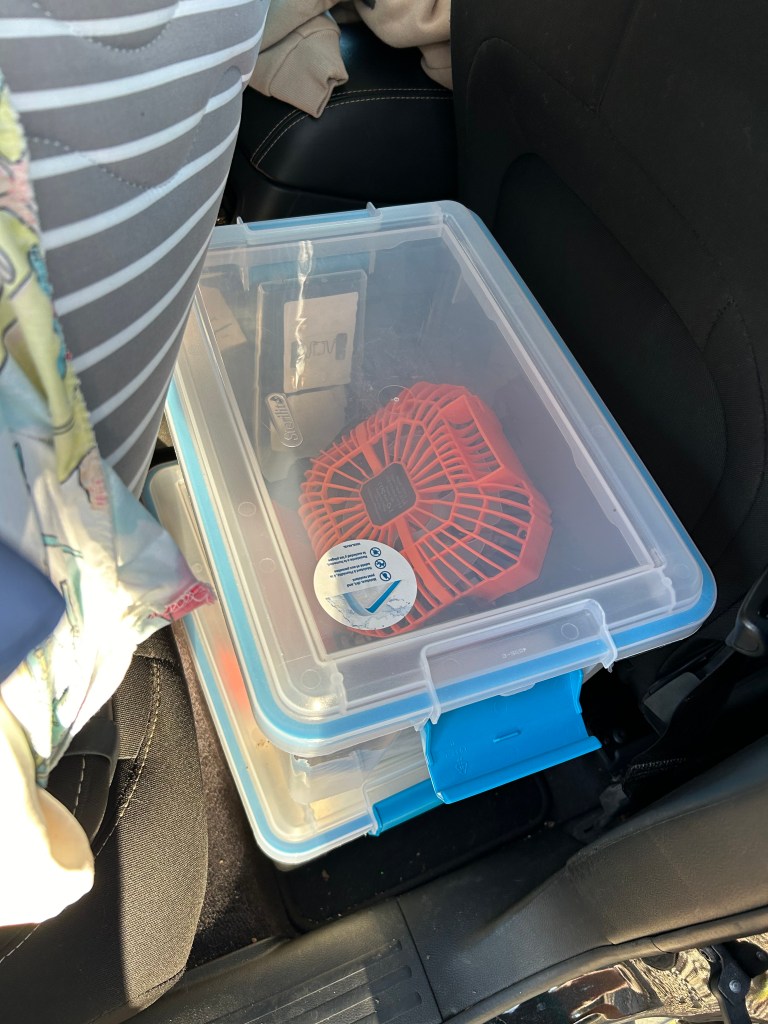
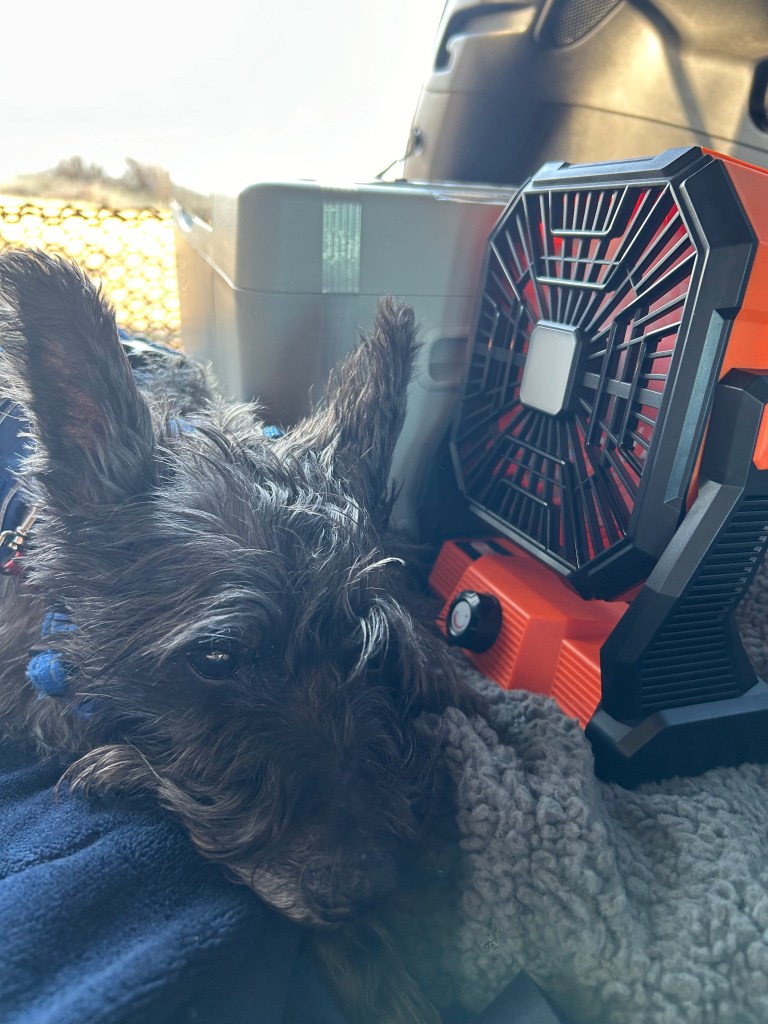
No matter what the forecast says, it’s a great idea to bring along a fan. I use this little USB rechargeable fan and it can make it through almost two whole nights on one charge. If you have to camp in warmer temps, then fans, parking in the shade, and reflective sunshades can help keep things cooler.
I also swear by a heated blanket, like this one. When I’m at a site with shore power, I simply plug it in to my Jackery. Electric blankets draw a lot of power though, and even with the Jackery plugged in and drawing charge all night, I’ll notice using the blanket drains my Jackery to 60 or 70% by the morning. However, Beatrix loves it on a chilly night, so it’s worth it! I’ve heard that 12v blankets use less electricity, so if I end up trying one of those, I’ll let you know how it goes.
Could you see yourself camping in a setup like this? Or do you have your own tricks for turning a car into a comfy camper? Let me know in the comments—I’d love to hear what works for you!
